Tuesday, 11 November 2014

Work diary

During this lesson we went out on a walk, the walk was designed for us to photograph autumn colours, location back of heads and also a sense of journey. I found this task slightly more difficult than normal lessons because once I had taken the images and come back to class I had forgotten which photos were for which task. I also felt as if my photos were not as goos standard as usual because we had not looked at example images at the beginning of lesson before going on the walk, for example I struggled to photograph a sense of journey as I was unsure of what would come under this title. 

This is one of my autumn colour images from the walk. I like this image because there are a variety of autumn colours in this image and because it is also a leaf I think it fits in with the theme very well. I like how close-up this image is because I think it makes you focus on the autumn colours and makes the theme more evident however this is slightly too blurry to use within my work so I would need to photograph this again. 
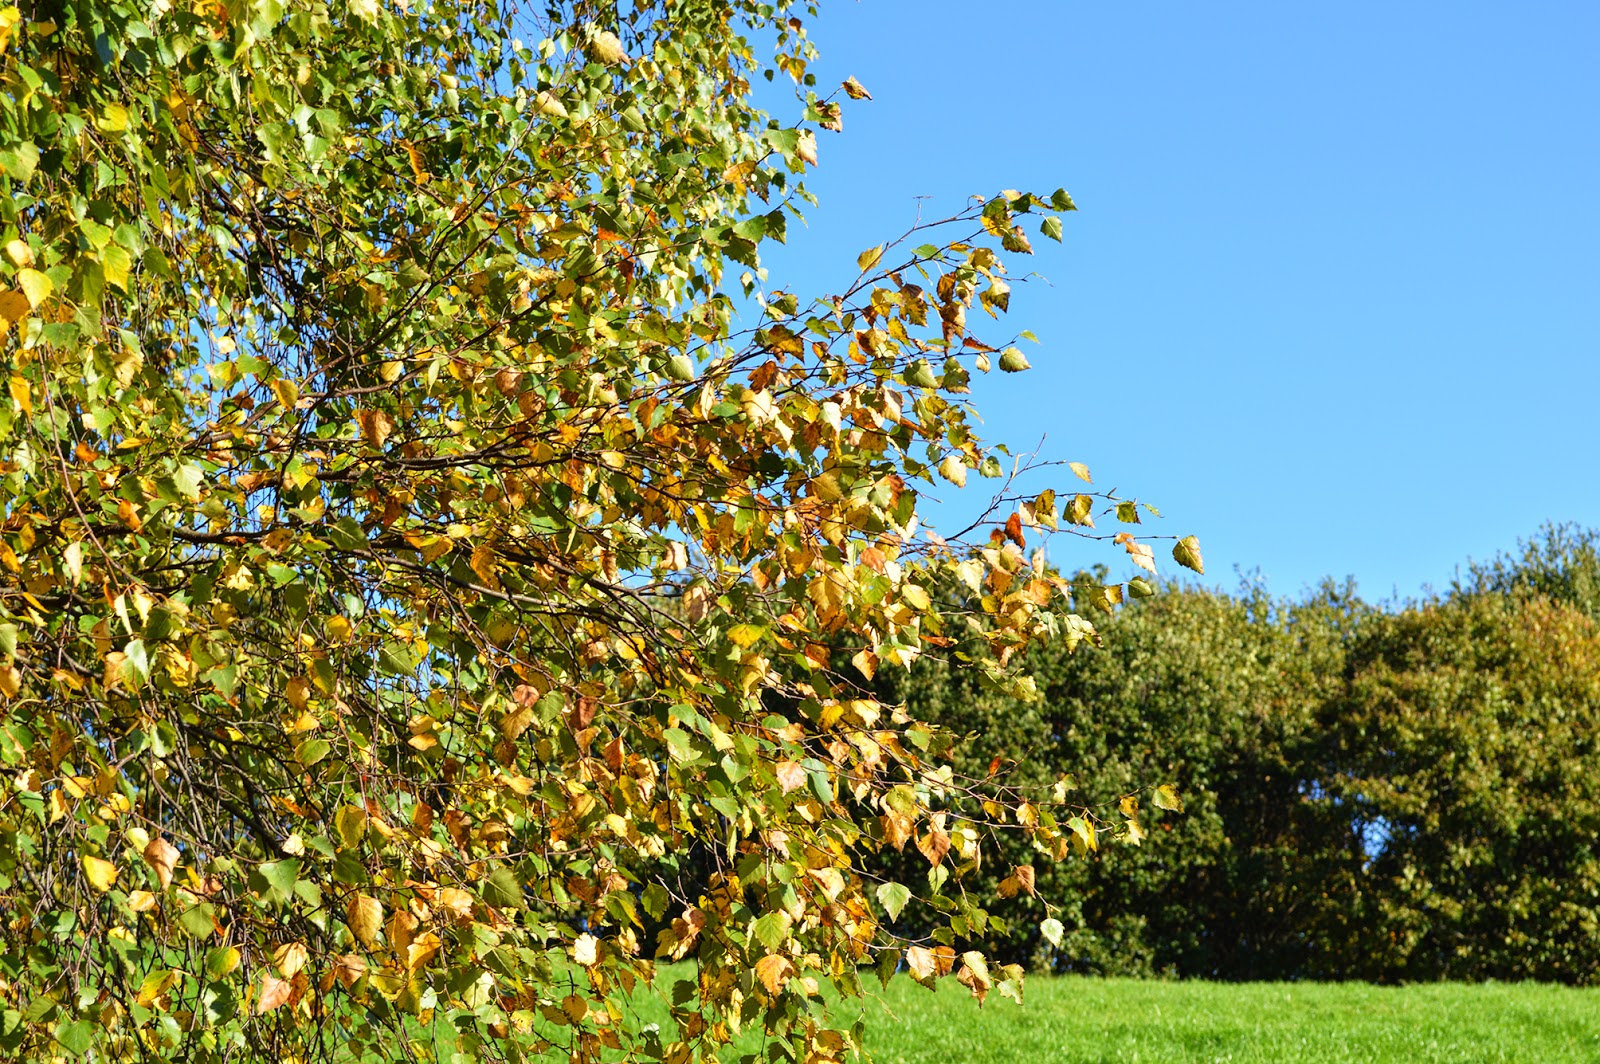
This is another of my walk images. In my opinion this image fits in with both the autumn colours theme as there are lots of trees in a variety of different colours however I felt as if this would also fit in with the sense of journey image as there is a path in the image too. I do not like this image very much because i have not included enough of the path so it may not be evident wether this shows a sense of journey. 

Progress
If I was to take some more images for this walk I think I should have focused a little more on a sense of journey and also back of heads because in my opinion all my images show autumn colours and there are no back of head images. I could have also tried to take some more close-up images because I think these look very good and I think they effectively show autumn colours. 

Work Diary

Monday 3rd November 
During this lesson we started contrast, during the beginning of the lesson we created an online mind map on contrast showing the different types of contrast and also the ways we could show these. After completing this we went into the studio in groups to photograph studio contrast. We were given some examples on what we could photograph for studio contrast however I found it very difficult to show contrast within my studio photographs. I did not complete many photos as I was struggling to think of things to do. 

Progress
If I was to complete this lesson again I would look up some examples of things I can do in the studio as I struggled with this and I would also make sure as a group that we photographed our images in a certain order as once we were back in the class room I could not remember which of the images were mine. I will need to go into the studio to photograph contrast again because I do not have very many photos and I am also very unsure of which of the group images I took. 

Monday, 10 November 2014

Straight images


Straight images


Image bank

These images all show contrast, contrast is shown by showing two different things and we can see the difference between them. I like these images because I think they all show contrast very well, whether its the difference in colour, the difference in material or just a different object. Sometimes I think it is more difficult to see the contrasts within images but in my opinion it is very evident in the above images. 


I think this photo shows contrast very clearly because all of the objects within this image are apples however the photographer has chosen to include on single red apple whereas the rest are green. I think this works very well because it stands out and feel that it is very clear this is showing contrast. 


This image shows contrast also, it does this by being a picture of coffee beans however there is one single green m&m, this shows contrast because the two objects are completely different things which makes it very noticeable within the image and I feel this shows contrast clearly. 


Monday, 20 October 2014

Image bank

These are some examples of back of the head portraits. In these images the photographer has often turned the camera portrait to include all of the girls hair. In all of these images the photographer has placed the model in the middle of the image however it may be more interesting if there were to one side. I think these images are all very effective because almost all of the hair is included in the photograph and I think this makes the composition better because we can see the majority of what is trying to be included in the photographs. When photographing back of head I would like to make sure I  rotate the camera to do the same because I like the compositions of these photos and think they would be reasonably easy to replicate. 


This is an example of a back of head portrait, however this is slightly different to some of the other examples because the model has her hands on her hips and photography has captured some of this and I feel that this ruins the photo very much. 


This is a very good example of a back of head portrait because the photographer has rotated the camera so that the picture is portrait and has also zoomed out far enough so that we can see the ends of her hair and slightly above her head also. I also think this is a good example because the photo is very natural due to being taken against a very natural setting such as a room and I think the colours all work very well together also.